If you have a paid subscription (Standard plan and above), you can create rules for which links to follow and which links to ignore:

While previously a rule could only be based on the URL of a link (example: Url ENDSWITH ".gif"), it’s now also possible to include or exclude links based on where they are found in the HTML code. As an example, the following exclude rule makes our crawler ignore all <a> tags found inside HTML elements that have class="footer":
HtmlElement = ".footer a"
If you have worked with CSS before, the syntax should already be familiar to you. The table below lists the supported ways of selecting HTML elements:
| Selector | Description |
|---|---|
.class |
Selects all elements that have the specified class |
#id |
Selects an element based on the value of its ID attribute |
element |
Selects all elements that have the specified tag name |
[attr] |
Selects all elements that have an attribute with the specified name |
[attr=value] |
Selects all elements that have an attribute with the specified name and value |
[attr~=value] |
Selects all elements that have an attribute with the specified name and a value containing the specified word (which is delimited by spaces) |
[attr|=value] |
Selects all elements that have an attribute with the specified name and a value equal to the specified string or prefixed with that string followed by a hyphen (-) |
[attr^=value] |
Selects all elements that have an attribute with the specified name and a value beginning with the specified string |
[attr$=value] |
Selects all elements that have an attribute with the specified name and a value ending with the specified string |
[attr*=value] |
Selects all elements that have an attribute with the specified name and a value containing the specified string |
* |
Selects all elements |
A B |
Selects all elements selected by B that are inside elements selected by A |
A > B |
Selects all elements selected by B where the parent is an element selected by A |
A ~ B |
Selects all elements selected by B that follow an element selected by A (with the same parent) |
A + B |
Selects all elements selected by B that immediately follow an element selected by A (with the same parent) |
A, B |
Selects all elements selected by A and B |
Equipped with this knowledge, it’s possible to construct quite powerful rules:
| Example | Matched HTML elements |
|---|---|
HtmlElement = "#search > a, #filter > a" |
<a> tags directly under elements with the IDs search or filter |
HtmlElement = "a[rel~=nofollow]" |
<a> tags with a rel="nofollow" attribute |
HtmlElement = "img[src$=.png]" |
<img> tags with an src attribute value ending in .png |
HtmlElement = ".comments *" |
Everything inside elements with a comments class |
HtmlElement = "head > link[rel=alternate][hreflang=en-us]" |
All <link rel="alternate" hreflang="en-us"> elements directly inside the <head> tag |
This feature has been in beta for a while and has proven to be quite a valuable addition. We hope you will find it as useful as we do. If you run into any problems or have a suggestion, please drop us a note.
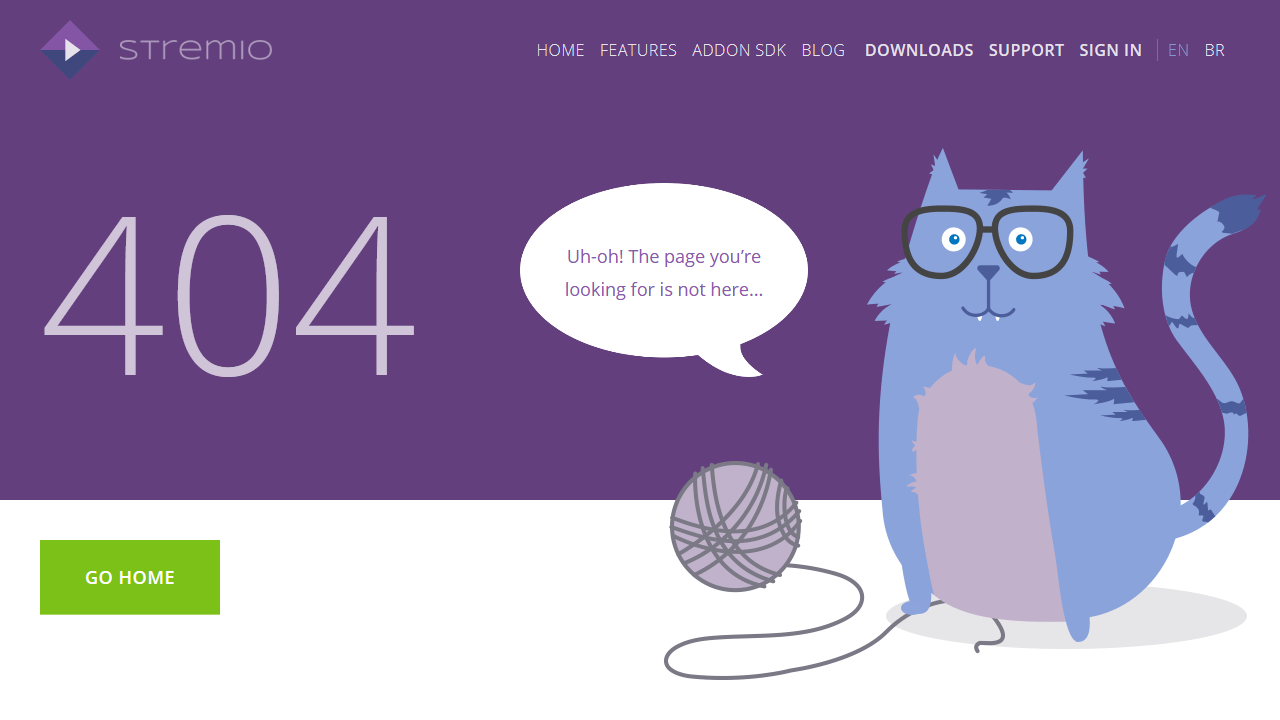
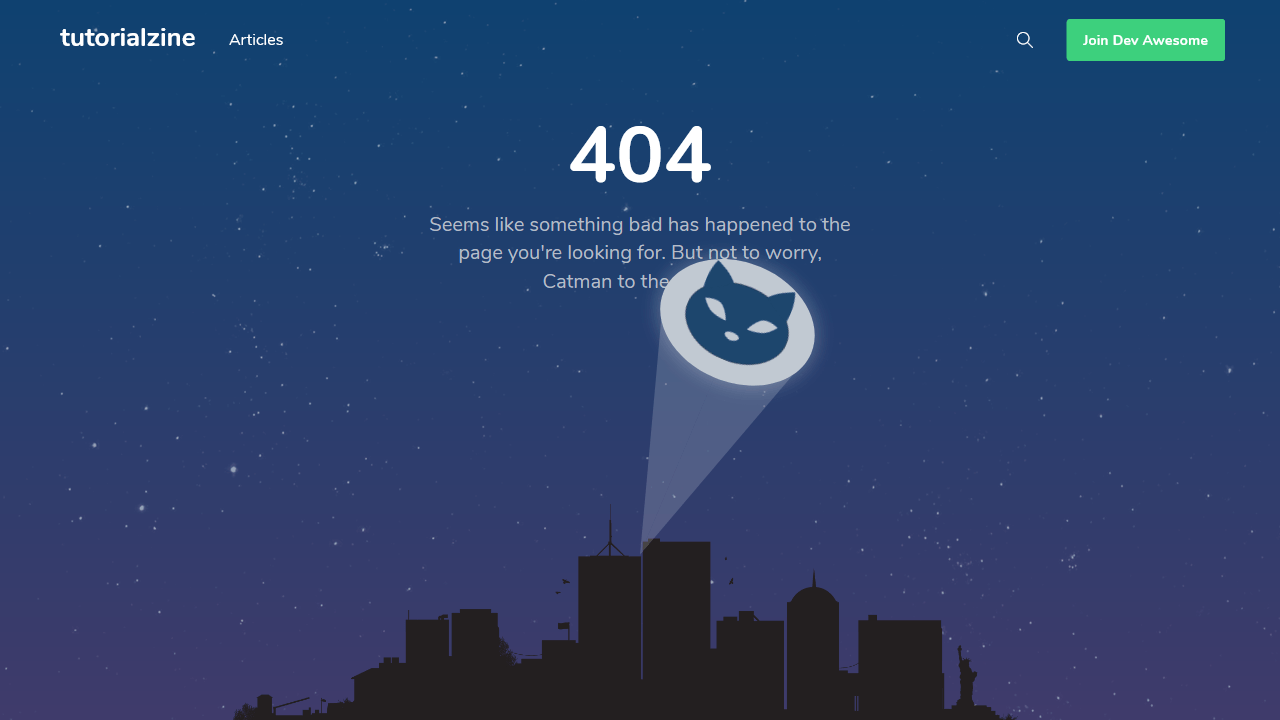
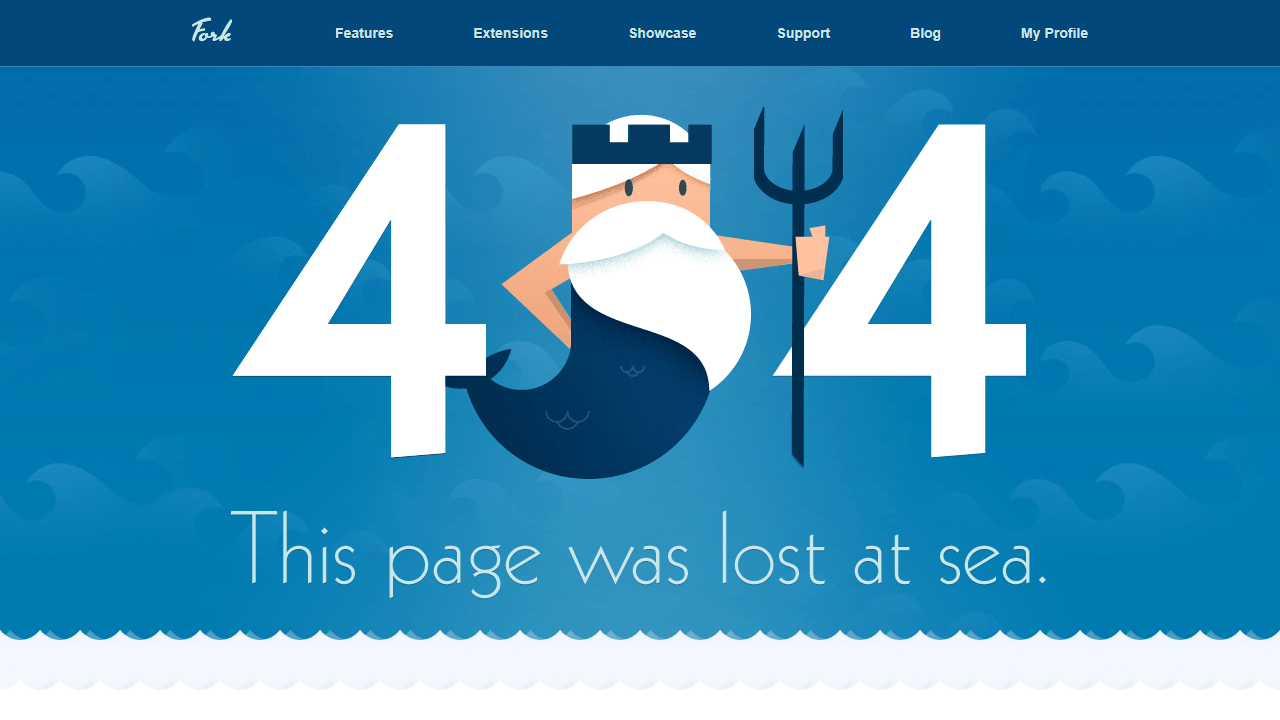
As the owner of Dr. Link Check, a broken link checker app, I have a love-hate relationship with 404 pages. On the one hand, I do everything I can to help our customers find and fix broken links and keep website visitors from running into 404 errors. On the other hand, I truly enjoy a unique and creative 404 page that sets a positive tone and lightens the mood.
While there are still too many websites that use the plain and dull default pages that come with their web servers, some custom 404 pages are gorgeous masterpieces. These hidden error pages are often the places where web designers can show their creativity and express themselves outside the bounds of what was specified by corporate.
For this article, I modified our crawler to search the web for the most beautiful 404 pages. The crawler went through a total of 500,000 websites, reducing the number of candidates to a few thousand, which I then manually narrowed down to the 40 pages presented below.
I hope these designs will give you the inspiration you’ll need to create your own distinctive 404 page. Crafting a pretty error page will not only be fun, but also makes sense from a customer conversion point of view. An appealing 404 page design can take away some of the bitterness of the broken link that a user just encountered. There’s a good chance the user will be pleasantly surprised and stay on your site rather than immediately hitting the back button and never visiting you again.
Now, enough with the chit-chat and on to why you’re actually here: the 404 pages.


Compiling this list of 404 pages was a fun thing for me to do. I hope you enjoyed the article and found some inspiration for your own website projects. If you already have a unique 404 page that you’re proud of, or have designed one based on this article, please message me via Twitter @wulfsoft and tell me about it. I’d love to see your creations.
A slow website isn’t just frustrating for potential customers – it harms your search rankings and makes your site look unprofessional. Decreasing the number of HTTP requests that browsers make while loading one of your pages is an easy way to speed everything up without splurging on expensive hosting. There are plenty of tools you can use to figure out what kinds of requests your site is making and minimize the ones that aren’t needed.
An HTTP request is simply the way that a piece of content (an image or a stylesheet, for example) makes its way from your server to your users’ devices. When you load a page in your browser and something like an image needs to be loaded, your browser will make a request to the server hosting that file. Lots of small requests can take a long time to load compared to one larger request, because one round trip across the network often takes longer than the actual download.
Before you can reduce the number of requests that your website makes, you'll need to figure out where they’re coming from and how long each one takes. Conveniently, all major desktop web browsers offer developer tools that include network profiling functionality. To open DevTools in Chrome or Firefox, press F12 (or Cmd+Opt+I on macOS). You might be greeted with a face full of HTML tags and CSS selectors, but don’t be alarmed. Click the “Network” tab to open the network profiling tools.
Try opening another page on your site: you should see a list of requests, along with fields for, at least, status, domain, size, and time. In the waterfall chart at the right, you can see when each HTTP request started and finished loading.

To get a better idea of what a new visitor would experience when loading your website for the first time, try force-reloading your website (Ctrl+Shift+R or Cmd+Opt+R). This will prevent your browser from loading certain elements from its cache and force it to make actual HTTP requests for them. You can tell which requests were cached by seeing which rows say “memory cache” (Chrome) or “cached” (Firefox) in the “Size” or “Transferred” columns.
If mucking around in the DevTools simply isn’t your thing, you can use online services like Pingdom Speed Test to get most of the same information.
Now that you’ve figured out how many and what kinds of HTTP requests your site is making, you can get to work reducing them.
While most frontend frameworks will automatically minify and combine your JavaScript files for you, there might still be full-size scripts, stylesheets, and extra HTML lying around on your site that can easily be made smaller and combined. If you don’t have too many files to minify, you can paste each one into one of many online minifiers (just try searching for “minify js” on DuckDuckGo – they even have a tool built into the search results). Otherwise, the Autoptimize WordPress plugin can take care of that automatically.

While minifying code is critical for decreasing the amount of data browsers have to load, HTTP/2 makes it unnecessary to put all of your scripts and stylesheets into one file. With this newer HTTP standard, browsers can load multiple files in one request. HTTP/2 is faster in lots of other ways as well, so if you haven’t gotten around to updating your web server you should do so soon.
Redirect chains are when your site redirects to another page that in turn redirects to somewhere else. Besides using three or more requests to get one file, redirect chains make it harder for search engines to crawl your site and will decrease your rankings. It can be somewhat difficult to diagnose this issue just looking at the request statuses in the “Network” tab in DevTools, so some automated tools have the ability to detect redirect chains across every page on your website.
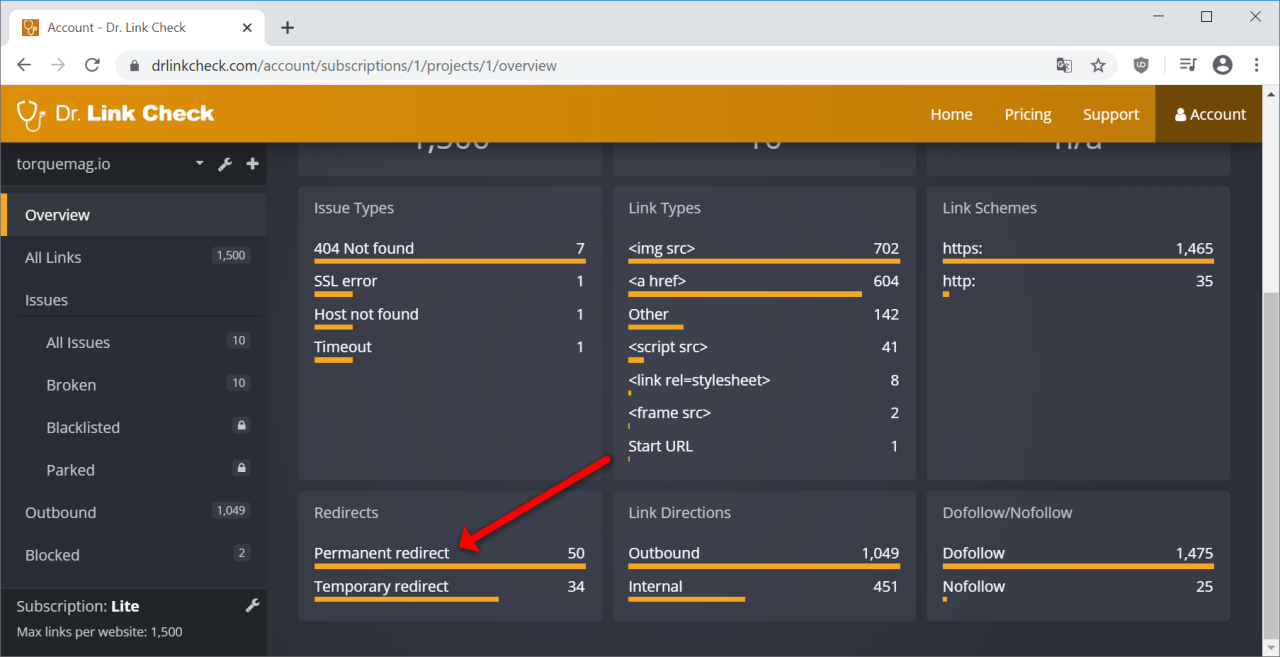
Dr. Link Check is primarily designed to find dead links and links that redirect to parked domains, but it can also find all the redirects and redirect chains by crawling your entire site. After running your website through Dr. Link Check, click on “Permanent redirect” in the “Redirects” section of the results.
WordPress makes it easy to add plugins and scripts to extend your site’s functionality, but loading each of these assets on every single page makes for slow loading times and high server load. The Asset CleanUp plugin lets you select which exact assets (scripts and stylesheets) load on each page, so you aren’t loading the CSS or JavaScript for a specific part of one page on every other page as well.
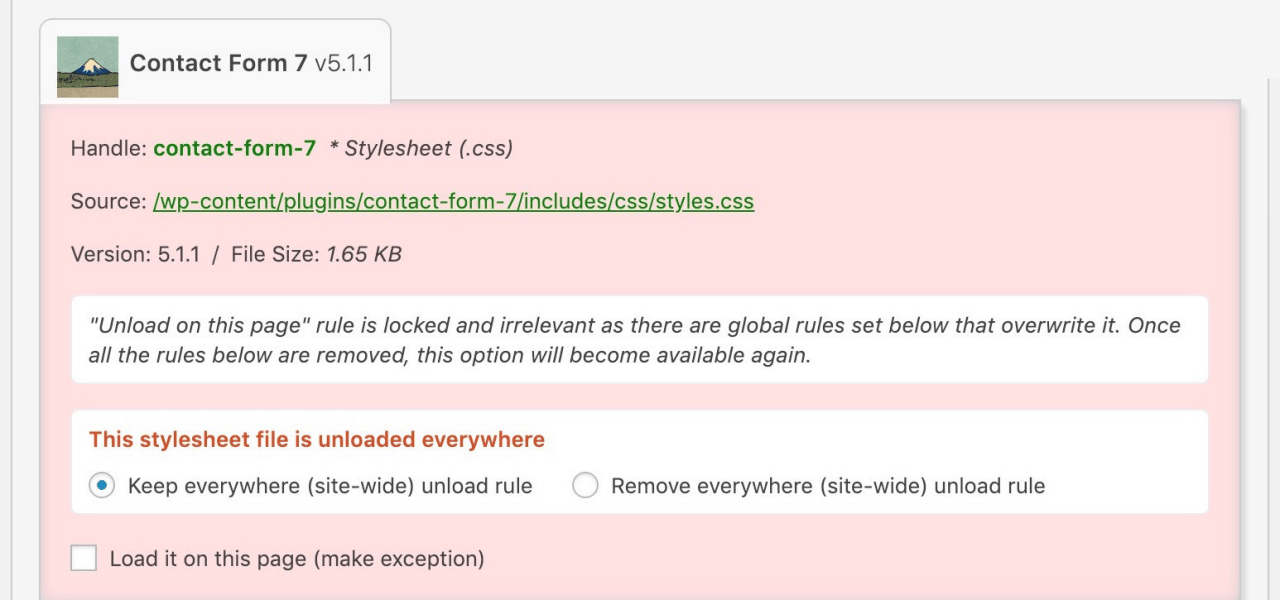
For example, without Asset CleanUp, your site might be forcing users’ browsers to download the scripts for a Contact Us widget on every single page, even if that widget is only actually being used on a single page. As you might expect, all those extra HTTP requests add up to make your website slower.
Your site might not just be making requests to your own server: external fonts, social media widgets, ads, and external images all load from other servers and can slow your website down significantly. While a fancy font from Google Fonts might look great, it also means that your website must load an additional file from another place on the web. If you still want to keep the font, think about disabling weights and variants that you aren’t currently using. It’s also recommended to avoid using external images. Hosting them yourself means that you aren’t at the mercy of another provider, and they can load much faster.
If you have long pages with lots of images on your site, loading all the images at once, even ones that the user can’t currently see, can take a while and cost you a lot of bandwidth. Instead, try lazy-loading your images using plugins like Smush or Optimole. This way, images only load once the user scrolls down to them instead of all loading when the page is opened. These plugins will also compress your images appropriately to make them load faster without compromising quality.
WordPress is not a static site generator, so whenever a user loads a page, the PHP process has to render that page just for that particular visitor. As you might expect, rendering the same exact page hundreds of different times is not very efficient. Plugins like LiteSpeed Cache and WP Fastest Cache allow WordPress to serve a page from cache instead of rendering it for each individual visitor, saving lots of time.
CDNs (content delivery networks) are services that let you offload some HTTP requests (usually images and other assets) to fast servers located near your users. These services usually also perform some caching themselves, decreasing the number of HTTP requests made to your origin server. By configuring your site to proxy through a CDN like Fastly or KeyCDN, big assets will be served by the CDN’s servers instead of yours.
A common cause of a slow website is an abundance of unnecessary HTTP requests. It’s easy to find out where requests are coming from with the developer tools built into your browser. Given that each request takes a certain amount of time to be returned, you can make your site much faster by reducing the total number of requests, reducing redirect chains and external requests, lazy-loading images, and caching content on your server and on a CDN. Even if you have already taken care of most of the low-hanging fruit, it’s good to occasionally review the requests your site is making whenever it feels slower than usual.
Have you ever wondered if you can post content to your WordPress blog using your phone or tablet? The answer is yes, but you need XML-RPC enabled on the WordPress blog. If you read about cyber security and WordPress, you might come across the idea that XML-RPC is a security threat and it should be disabled. Here are some facts to help you decide.

XML-RPC is a remote protocol that works using HTTP(S). The remote procedure call (RPC) protocol uses XML to transport data to and from the WordPress blog. XML-RPC isn’t for WordPress only. You can find other applications that use it, although it is an older protocol not used much in newer applications. XML is widely replaced by JSON, but WordPress is an old platform that still uses many traditional protocols and procedures.
When you log into your WordPress account, you use regular HTTP and form submissions. XML-RPC allows you to log in using something other than a web browser and perform any action allowed by the WordPress API. You can create and edit posts, review tags and categories, read and post comments, and even get statistics on your blog. If you have a mobile app that does any of these actions, it probably uses XML-RPC.
Before you disable anything on your WordPress blog, you should understand what it’s used for. Disabling the wrong protocol or service can leave your blog unusable by certain applications and other parts might not be visible to your users.
XML-RPC is needed if you want to remotely publish any content. Suppose that you have an application on your tablet that allows you to write ideas in an application and upload them to your blog. You create new posts based on these ideas, but you leave them as a draft until you can write better and more thorough content. For the application to communicate with your blog, you need XML-RPC.
The plugin Jetpack is one of the most common applications that requires XML-RPC to be enabled. Jetpack is a popular plugin for site analytics and sharing on social media sites such as Facebook, Twitter, LinkedIn, and Reddit. It also lets you communicate with your blog using WhatsApp. Jetpack has several features, and many of them rely on XML-RPC. Once you disable the protocol, the plugin no longer functions properly.
The negative issues that come with XML-RPC are related to cyber security. It should be noted that WordPress has worked long and hard on combating cyber security issues related to its API and any remote procedures. For the most part, any cyber security issues have been patched. Make sure you look at the date before judging any WordPress feature based on published reports. A cyber security issue could have been a problem years ago, but it only takes WordPress a few months before the issue is patched.
The main issues that come with XML-RPC are DDoS attacks and brute force attacks on the administration password. You can still combat these issues by downloading cyber security plugins such as WordFence or Sucuri.
DDoS attacks using XML-RPC are mostly on the pingback system. When your article is mentioned and you have pingbacks enabled, the remote site sends your WordPress blog an alert. This alert is called a pingback, and you can get thousands of them a day when an article goes viral. If an attacker wants to DDoS your WordPress blog, they can flood your site with pingbacks until it can’t handle them anymore. The result is a crash on your site, which makes it unavailable to readers.
You can stop DDoS attacks using Akismet, an anti-spam tool that blocks spam comments until you review them. It’s even included with the WordPress installation, so you just need to sign up and receive an API key to use the software. Akismet should be included on any blog unless you have a better anti-spam tool for your WordPress comment system.
The second type of attack is brute-force attacks on the administrator username and password. The most common attempts to brute force a password are to guess the administrator password. Before you can guess the password, you need the administrator’s username. The default is “administrator,” so brute force scripts use this account name first. They then try the name of your blog. These two account names are common on most blogs, and it’s a mistake to use either name for your administrator account.
A brute force is an attack where the hacker takes a list of dictionary terms and runs them in a script that attempts to log in to your site. If the first attempt fails, it continues with the next one, and then the next one and then the next until all “guesses” expire. If given enough time, the attacker can guess your password and log into your administration dashboard.
The best way to defend against a brute-force attack is to block an IP after a certain amount of login attempts. You can do this using the plugin WordFence. It allows for a certain number of login attempts (usually 5) and then blocks the IP from any more attempts for several minutes. The attacker can still try, but the time it takes to find a password is too long when several hours of the day are blocked.
When you give a password to your administrator account, use a complex one. It should be at least 10 characters and use upper and lowercase letters and special characters.
If you know that no plugins or apps use the protocol, then disabling XML-RPC is an option. It’s recommended that you disable it only if you don’t use it, but it could be a problem in the future. If you’ve forgotten that it’s disabled and try to work with a plugin that needs it, you could get frustrated with the plugin’s issues until you realize that the fault lies with XML-RPC being disabled.
WordPress has also fixed many of the issues with this protocol, so it doesn’t carry the negative cyber security issues that it used to. You can keep the protocol on to ensure that you can remotely work with your WordPress blog, as long as you have at least one cyber security plugin installed that blocks pingback DDoS attacks and brute-force scripts.
By the way, don’t forget to check out Dr. Link Check and run a free broken link check on your WordPress blog.
HTTP redirects are a way of forwarding visitors (both humans and search bots) from one URL to another. This is useful in situations like these:
HTTP is a request/response protocol. The client, typically a web browser, sends a requests to a server and the server returns a response. Below is an example of how Firefox requests the home page of the drlinkcheck.com website:

In this example, the server responds with a 200 (OK) status code and includes the requested page in the body.
If the server wants the client to look for the page under a different URL, it returns a status code from the 3xx range and specifies the target URL in the Location header.

HTTP status codes 301 and 308 are used if a resource is permanently moved to a new location. A permanent redirect is the right choice when restructuring a website or migrating it from HTTP to HTTPS.
The difference between code 301 and 308 is in the details. If a client sees a 308 redirect, it MUST repeat the exact same request on the new location, whereas the client may change a POST request into a GET request in the case of a 301 redirect.
This means that, if a POST with a body is made and the server returns a 308 status code, the client must do a POST request with the same body to the new location. In the case of a 301 status code, the client may do this but is not required to do so (in practice, almost all clients proceed with a GET request).
The problem with HTTP status code 308 is that it’s relatively new (introduced in RFC 7538 in April 2015) and, therefore, it is not supported by all browsers and crawlers. For instance, Internet Explorer 11 on Windows 7 and 8 doesn’t understand 308 status codes and simply displays an empty page, instead of following the redirect.
Due to still limited support of 308, the recommendation is to always go with 301 redirects, unless you require POST requests to be redirected properly and are certain that all clients understand the 308 response code.
The 302, 303, and 307 status codes indicate that a resource is temporarily available under a new URL, meaning that the redirect has a limited life span and (typically) should not be cached. An example is a website that is undergoing maintenance and redirects visitors to a temporary “Under Construction” page. Marking a redirect as temporary is also advisable when redirecting based on visitor-specific criteria such as geographic location, time, or device.
The HTTP/1.0 specification (released in 1996) only included status code 302 for temporary redirects. Although it was specified that clients are not allowed to change the request method on the redirected request, most browsers ignored the standard and always performed a GET on the redirect URL. That’s the reason HTTP/1.1 (released in 1999) introduced status codes 303 and 307 to make it unambiguously clear how a client should react.
HTTP status code 303 (“See Other”) tells a client that a resource is temporarily available at a different location and explicitly instructs the client to issue a GET request on the new URL, regardless of which request method was originally used.
Status code 307 (“Temporary Redirect”) instructs a client to repeat the request with another URL, while using the same request method as in the original request. For instance, a POST request must almost be repeated using another POST request.
In practice, browsers and crawlers handle 302 redirects the same way as specified for 303, meaning that redirects are always performed as GET requests.
Even though status codes 303 and 307 were standardized in 1999, there are still clients that don’t implement them correctly. Just like with status code 308, the recommendation, therefore, is to stick with 302 redirects, unless you need a POST request to be repeated (use 307 in this case) or know that intended clients support codes 303 and 307.
When Google sees a permanent 301 or 308 redirect, it removes the old page from the index and replaces it with the page from the new location. The question is how this affects the ranking of the page? In this video, Matt Cuts explains that you lose only “a tiny little bit” of link juice if you do a 301 redirect. Therefore, permanent redirects are the way to go if you want to restructure your site without negatively affecting its Google rankings.
Temporary redirects (status codes 302, 303, and 307) on the other hand are more or less ignored by Google. The search engine knows that the redirect is just of temporary nature and keeps the original page indexed without transferring any link juice to the destination URL.
Another aspect to consider when using HTTP redirects is the performance impact. Each redirect requires an extra HTTP request to the server, typically adding a few hundred milliseconds to the loading time of the page. This is bad from a user experience perspective and puts unnecessary stress on the web server. While a single redirect doesn’t hurt too much, redirect chains in which one redirect leads to another redirect should definitely be avoided.
If you want to identify all redirects on your website, our link checker can help – just enter the URL of your website and hit the Start Check button. Once the check is complete, you will see the number of found temporary and permanent redirects under Redirects. Click on one of the items to get a list of all redirected links. If you hover over a link item and click the Details button, you can see the entire redirect chain.

Five different redirect status codes – no wonder many website owners get confused when it comes to redirects. My advice is the following:
I hope this sheds some light onto how HTTP redirects work and which HTTP status code to choose in which situation.
Our link checker heavily relies on AWS and EC2 instances in particular. One of the more difficult decisions when dealing with EC2 is choosing the right instance type. Will burstable and (potentially) cheap T3 instances do the job, or should you pay more for general purpose M5 instances? In this blog post, I will try to shed some light on this and provide answers to the following questions:
Without further ado, let me dive directly into some actual testing. I create a t3.large instance (without Unlimited mode) in the us-east-2 region and select Ubuntu 18.04 as the operating system. The first thing I check is the processor the machine is running on:
$ cat /proc/cpuinfo | grep -E 'processor|model name|cpu MHz'

processor       : 0
model name      : Intel(R) Xeon(R) Platinum 8175M CPU @ 2.50GHz
cpu MHz         : 2500.000
processor       : 1
model name      : Intel(R) Xeon(R) Platinum 8175M CPU @ 2.50GHz
cpu MHz         : 2500.000
As you can see from the output, the T3 instance has access to two vCPUs (= hyperthreads) of an Intel Xeon Platinum 8175M processor.
In order to test the performance of the processor, I install sysbench …
$ sudo apt-get install sysbench
… and start the benchmark (which stresses the CPU for ten seconds by calculating prime numbers):
$ sysbench --threads=2 cpu run

sysbench 1.0.11 (using system LuaJIT 2.1.0-beta3)

Running the test with following options:
Number of threads: 2
Initializing random number generator from current time


Prime numbers limit: 10000

Initializing worker threads...

Threads started!

CPU speed:
    events per second:  1623.24

General statistics:
    total time:                          10.0012s
    total number of events:              16237

Latency (ms):
         min:                                  1.16
         avg:                                  1.23
         max:                                  9.89
         95th percentile:                      1.27
         sum:                              19993.46

Threads fairness:
    events (avg/stddev):           8118.5000/0.50
    execution time (avg/stddev):   9.9967/0.00
The events per second (1623 in this case) is the number you should care about. The higher this number, the higher the performance of the CPU. As points of reference, here are the results from the same test on several other cloud machines as well as some desktop and mobile processors:
| Instance Type | Processor | Threads | Burst | Baseline |
|---|---|---|---|---|
| t3.micro | Intel Xeon Platinum 8175M | 2 | 1654 | 175 |
| t3.medium | Intel Xeon Platinum 8175M | 2 | 1653 | 343 |
| t3.large | Intel Xeon Platinum 8175M | 2 | 1623 | 510 |
| m5.large | Intel Xeon Platinum 8175M | 2 | 1647 | 1647 |
| t3a.nano | AMD EPYC 7571 | 2 | 1510 | 75 |
| t2.large | Intel Xeon E5-2686 v4 | 2 | 1830 | 538 |
| a1.medium | AWS Graviton | 1 | 2281 | 2281 |
| t4g.micro | AWS Graviton2 | 2 | 5922 | 592 |
| m4.large | Intel Xeon E5-2686 v4 | 2 | 1393 | 1393 |
| c4.large | Intel Xeon E5-2666 v3 | 2 | 1583 | 1583 |
| GCP f1-micro | Intel Xeon (Skylake) | 1 | 956 | 190 |
| GCP e2-medium | Intel Xeon | 2 | 1434 | 717 |
| GCP n1-standard-2 | Intel Xeon (Skylake) | 2 | 1435 | 1435 |
| Linode 2GB | AMD EPYC 7501 | 1 | 1236 | 1170 |
| Hetzner CX11 | Intel Xeon (Skylake) | 1 | 970 | 860 |
| Dedicated Server | Intel Xeon E3-1271 v3 | 8 | 7530 | 7530 |
| Desktop | Intel Core i9-9900K | 16 | 19274 | 19274 |
| Laptop | Intel Core i7-8565U | 8 | 8372 | 8372 |
While bursting, T3 instances provide the same CPU performance as equally sized M5 instances, which answers my first question from above.
For the next test, I let the t3.large instance sit unused for 24 hours until it has accrued the maximum number of CPU credits.

T3 instances always start with zero credits and earn credits at a rate determined by the size of the instance. A t3.large instance earns 36 CPU credits per hour with a maximum of 864 credits. According to the AWS documentation, one CPU credit is equal to one vCPU running at 100% for one minute. So how long should my t3.large instance be able to burst to 100% CPU utilization?
If the instance has 864 CPU credits, uses 2 credits per minute, and refills its credits at a rate of 0.6 (= 36/60) per minute, it should have the capacity to burst for 864 / (2 - 0.6) = 617 minutes = 10.3 hours. Let me put that to a test.
sysbench --time=0 --threads=2 --report-interval=60 cpu run
Just as expected, the performance drops to about 30% (the baseline performance for t3.large instances) after about ten and a half hours.

T3 instances with activated Unlimited Mode are allowed to burst even if no CPU credits are available. This comes at a price: a T3 instance that continuously bursts at 100% CPU costs approximately 1.5 times the price of an equally sized M5 instance. However, how reliable is Unlimited Mode? My worry is that AWS puts too many instances on a single physical machine, so not enough spare burst capacity is available. To answer this question, I launch a t3.nano instance with Unlimited Mode and let it run at full steam for about four days.

As promised, there is no drop in CPU performance. The t3.nano instance delivers the full capacity of 2 vCPUs (almost) all the time. Quite impressive!
Instead of running my own network performance tests, I rely on the results that Andreas Wittig published on the cloudonaut blog. He used iperf3 to determine the baseline and burst network throughput for different EC2 instance types. Here are the values for different T3 instances and an m5.large instance:
| Instance Type | Burst (Gbit/s) | Baseline (Gbit/s) |
|---|---|---|
| t3.nano | 5.06 | 0.03 |
| t3.micro | 5.09 | 0.06 |
| t3.small | 5.11 | 0.13 |
| t3.medium | 4.98 | 0.25 |
| t3.large | 5.11 | 0.51 |
| m5.large | 10.04 | 0.74 |
Although an m5.large instance costs only about 15% more than a t3.large instance, it provides a 50% higher baseline throughput and more than double the burst capacity.
When determining how much network throughput you need, consider that EBS volumes are network-attached.
T3 instances are great! Even a t3.nano instance at a monthly on-demand price of less than $4 gives you access to the full power of two hyperthreads on an Intel Xeon processor and at burst runs as fast as a $70 m5.large instance. By activating Unlimited Mode, you can easily insure yourself against running out of CPU credits and being throttled.
If you don’t need the 8 GiB of memory (RAM) that an m5.large instance provides and can live with the lower network throughput, one of the smaller T3 instances with activated Unlimited Mode might be the much more cost-effective choice. In the end, it depends on how high the average CPU usage of your instance is. The table below lists the CPU utilizations up to which bursting T3 instances remain cheaper than an m5.large instance. Please note that the calculations are based on the on-demand prices and might be different when using reserved instances.
| Instance Type | Memory | Cost-effective if average CPU usage is less than |
|---|---|---|
| t3.nano | 0.5 GiB | 95.8% |
| t3.micro | 1 GiB | 95.6% |
| t3.small | 2 GiB | 95.2% |
| t3.medium | 4 GiB | 74.4% |
| t3.large | 8 GiB | 42.5% |
Last but not least, let me state that you shouldn’t rely solely on the benchmarks and comparisons in this post. You are welcome to use my finding as a first guide when choosing the right instance type, but don’t forget to run your own tests and make your own calculations.